how to draw trees with a pen
tree
drawing with pen & ink
You will start practicing by copying my drawing first, then drawing from a photograph.
We will focus here on shading that will create an illusion of a three-dimensional form of the tree and texture of the tree bark.!
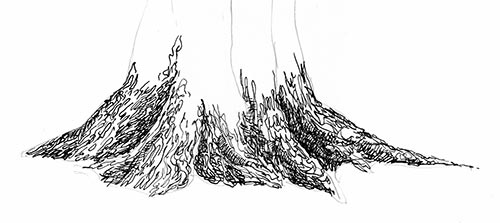
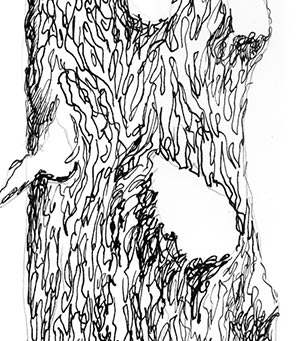
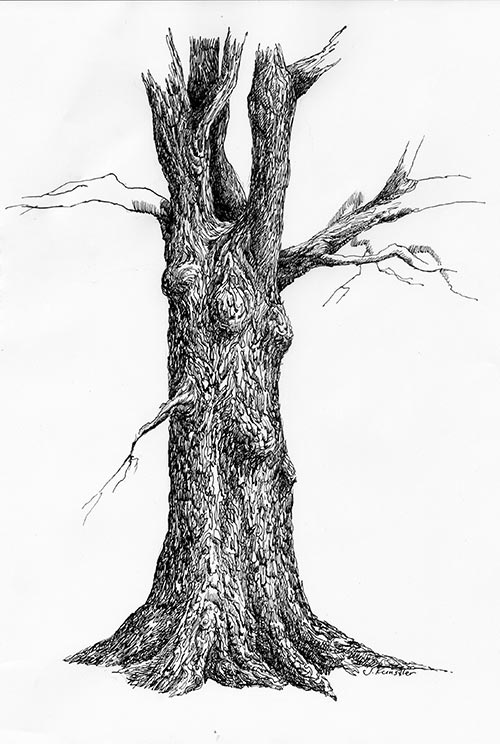
Enlarge and print out the drawing below.
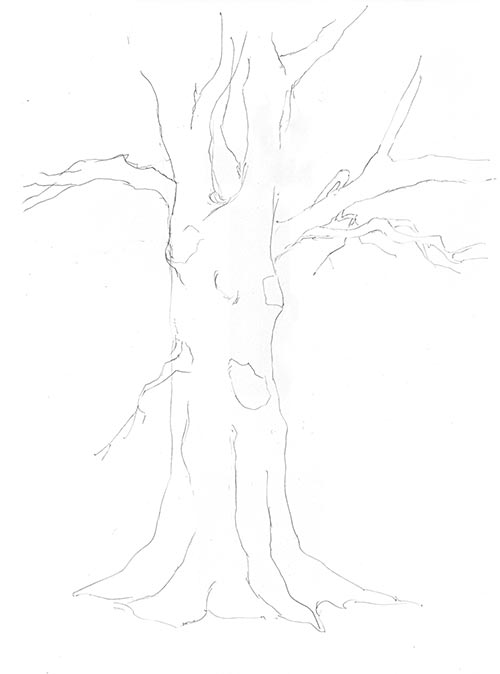
Start with a light pencil sketch or outline of a tree.
Use light pencil lines that are easy to erase later.
Draw the silhouette of the tree and major knots and branches.
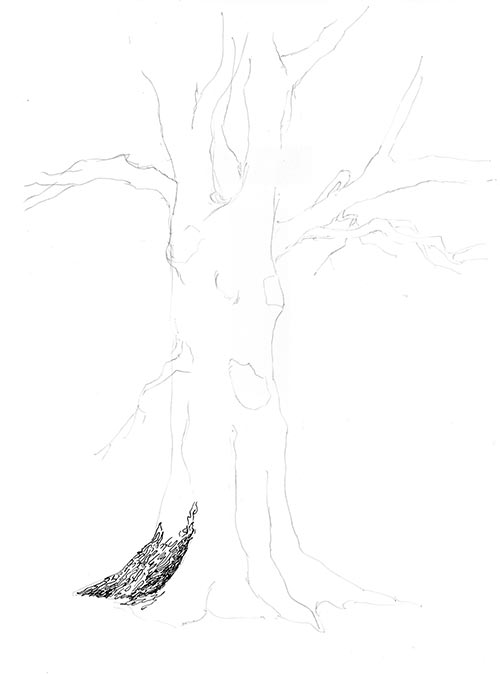
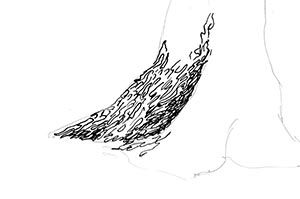
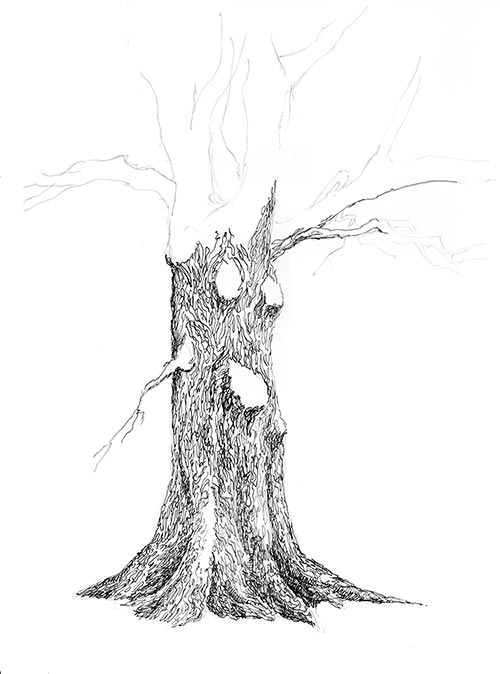
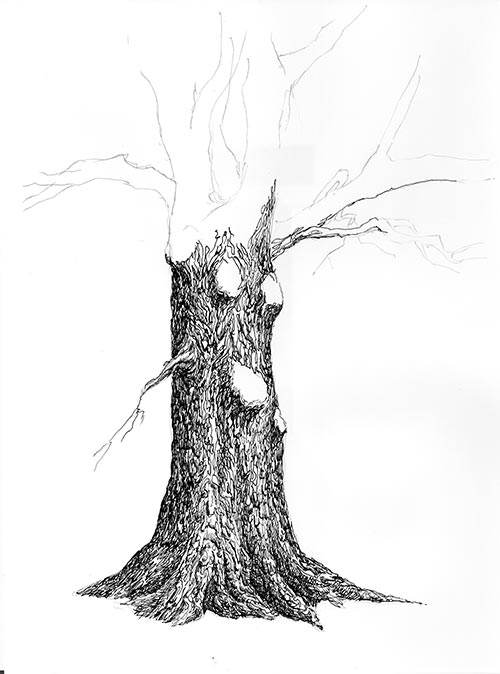
Starting at the base of the trunk, define the direction of the bark growth with lines and shape, imitating the texture of the bark.
Use continuous "wondering" lines and small shapes as strokes.
Practice these strokes if you are not comfortable with applying them right away.
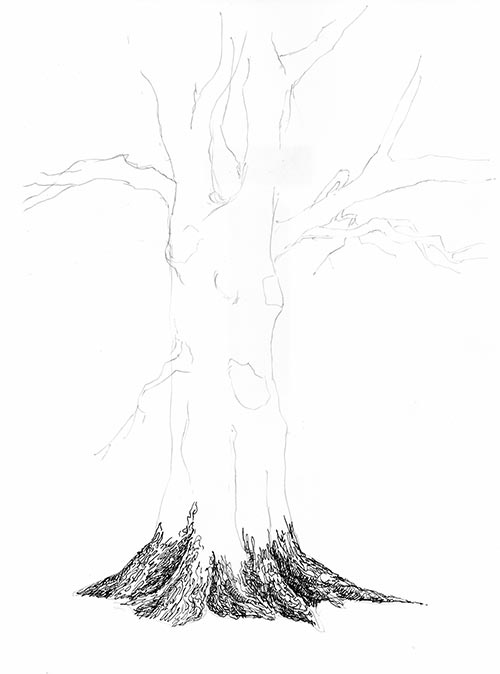
Continue with the base of the tree. Keep in mind two things:
- Direction if the stroke lines and shapes - they should follow the pattern of the tree bark and "wrap" the form of the tree.
- Consider light and dark areas - exposed to light, and shaded areas.
Give bark dimension by darkening some lines and shapes in your shading pattern.
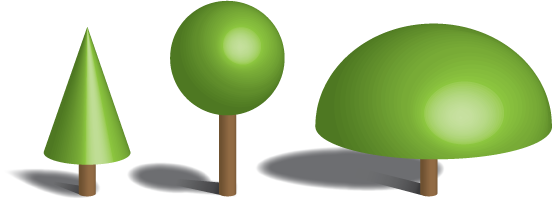
Trees are not flat!
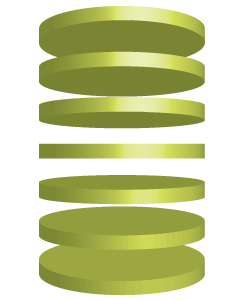
If you simplify a tree form to the very basics - it comes down to a lollipop form: a round or conical form on a stick.
Each form has a highlighted side, a shadow side, and a drop shadow behind it.
Just keeping this thought in mind will help you to place the strokes to build a believable three-dimensional object.
If you simplify the form of a tree, what would it be?
A cylinder!
Remember how to shade a cylinder?

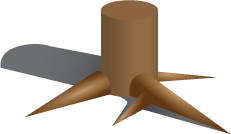
Don't forget the structure of the roots - they also have their shadow and highlighted sides, they cast drop shadows as well.
Continue adding texture to the tree. At this point - pay attention to the direction of the strokes. If the surface "curves" - have to strokes bend too.
Skip the areas of "knots" - you will work on them later.

Work the darker tones along the layout lines (tree outline).
But do not outline the tree with a solid continuous line!!!
After darkening the sides of the tree - you can add small angled strokes to build out the shadowed areas along the bark edges in the trunk
Important: Keep a consistent light source in your work!
Define some fine details in the bark.
Now let's shade the knots. They are large, raised "bumps" that are covered with bark.
The bark follows the form of the tree - so should you.
Keep in mind, that if you are looking at this tree in a park - your eye level would be somewhere in the middle of the trunk. So all details and bumps that are below your eye level - you will see them from the top side, everything that is above your eye level - you will see from the bottom.

Notice that these bumps have a light side (facing light source), and dark side (shaded area).
Look at the texture of the bark on those bumps and the direction it grows.
Use very fine strokes for lit areas.
Apply shadows with thicker strokes and small angled hatching.
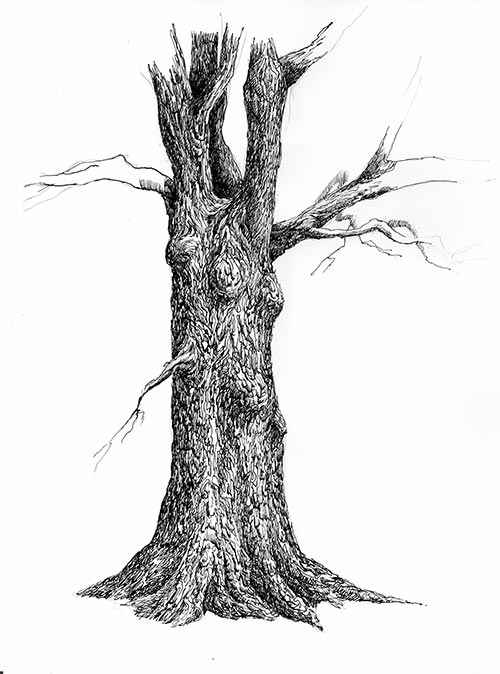
The further up the tree you go - further it is away from the viewer.
To show that - you need to decrease the amount of details in the bark texture.
Place strokes closer together.
Work on branches and other details.
Use shading and value to show which parts are further away and positioned behind the tree.
Keep in mind the position of the light source. Everything should be consistent throughout the drawing.
Other than creating a texture - the shading part is just like shading simple geometric forms (cylinders and spheres).
Erase the pencil lines.
Source: https://juliannakunstler.com/dp_tree.html
0 Response to "how to draw trees with a pen"
Post a Comment